Case Study: Optimizing a Voiceover Studio and Processing Chain
The Challenge
Following a previous session where we successfully eliminated a rising noise floor caused by a hidden Auto-Gain feature, a voiceover artist needed to finalize her home studio setup and booked a Full Pro Audio Setup. With the hardware glitch resolved, she wanted to ensure she was getting the absolute best sound out of her Rode NT1-A and Focusrite Scarlett 2i2. Her goal was to build a reliable workflow so she could confidently submit pristine, professional auditions without any technical anxieties holding her back.
The Amazing Audio Solution
We reconnected via WhatsApp video and AnyDesk to systematically tick off every remaining item on her studio checklist: microphone placement, manual gain staging, software selection, and audio processing.
- Perfecting Mic Placement: Using the video call, I reviewed her physical setup inside her vocal booth. The distance was good, but I recommended raising the microphone slightly so the gold dot on her Rode NT1-A was inline with her nose rather than her chin. Test recordings instantly proved this opened up the tone of her voice.
- Manual Gain Staging: With the destructive Auto-Gain feature firmly disabled, I taught her how to manually find the “sweet spot” on her Focusrite Scarlett interface. We calibrated the input dial to achieve a strong, healthy signal that completely avoided clipping, ensuring editors would receive consistent audio.
- Software Strategy: We reviewed her current apps (Audacity and TwistedWave). While great for short clips, I introduced her to GarageBand so we could actively monitor audio plugins in real-time. I also mapped out a software upgrade path, recommending Logic Pro for future long-form projects like audiobooks or podcasts.
- Building a Processing Chain: I explained the industry standard: most clients want clean, unprocessed audio, but for certain auditions, she needed her own vocal chain. We built a custom chain in GarageBand using a Channel EQ to roll off the lowest sub-frequencies, an RX De-Noise plugin for subtle audio clean-up, and a vocal compressor to gently tame any volume peaks. We tweaked the parameters until they perfectly matched her unique voice.
The Result
By the end of our session, the client had transformed from simply “plugging things in” to truly understanding her digital studio. She had a completely clean audio signal, a reliable physical setup, and the knowledge of how to apply professional processing to her voice. She was ready to start auditioning with total confidence.
Client Feedback
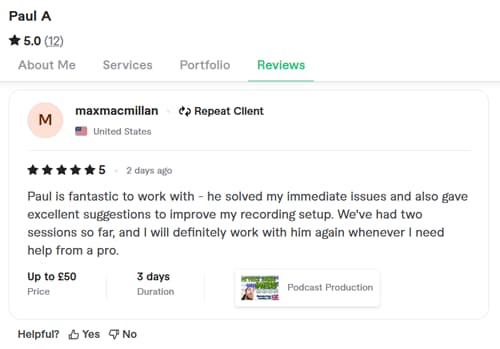
The client was incredibly happy with the transformation across our two sessions and left this fantastic review:
“Paul is fantastic to work with – he solved my immediate issues and also gave excellent suggestions to improve my recording setup. We’ve had two sessions so far, and I will definitely work with him again whenever I need help from a pro.”
This article was originally published as a field case study on our sister site, Audio Support, and has been adapted for Amazing Audio.
Start Auditioning with Confidence
Don’t let technical doubts hold back your voiceover career. Let our remote engineers refine your microphone placement, set your manual gain staging, and build a custom processing chain tailored to your voice.
Book a Pro Audio Setup